Serving a Lightweight Text-to-Image Model
Generating images from text is a popular use-case for artificial intelligence. In this tutorial, we create a function service that runs an especially quick variant of a Stable Diffusion, namely "sdxl-turbo" by Stability AI.
Frontend
We've also created a Streamlit GUI for this service! See the Covalent Showcase repository for how to set this up.
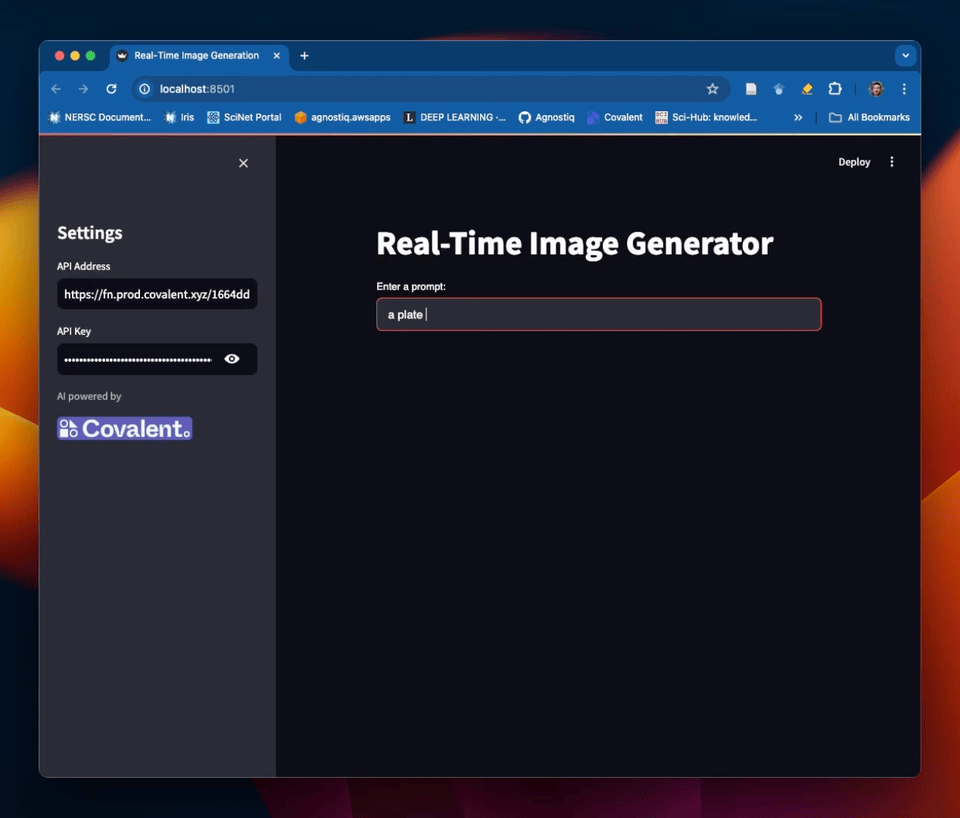
Example of a Streamlit frontend for the text-to-image service in this tutorial
Local Environment
First, make sure you've installed the Covalent Cloud SDK.
pip install -U covalent-cloud
Once that's done, import covalent_cloud and a couple other dependencies (these are built-in).
import base64
import io

import covalent_cloud as cc
Save your Covalent Cloud API key if you haven't already.
# cc.save_api_key("you-api-key")
Cloud Environment
The service that we define in this tutorial will use the following environment.
Environment creation can take a few minutes, but luckily we only need to do it once! After that, the environment can be referenced by name (i.e. "text-to-image-turbo").
Once the environment is ready to go, we'll refer to it inside our executor in the next step.
cc.create_env(
    name="text-to-image-turbo",
    pip=["accelerate", "diffusers", "transformers"],
    wait=True,  # remove this to create asynchronously
)
Environment Already Exists.
Define a Set of Compute Resources
The purpose of any executor in Covalent is to specify a set of modular compute resources.
This particular executor specifies 4 CPUs, 56 GB of RAM, and a single NVIDIA L40 GPU. We'll assign it to our service in the next step.
gpu_executor = cc.CloudExecutor(
    env="text-to-image-turbo",
    num_cpus=4,
    memory="56 GB",
    num_gpus=1,
    gpu_type="l40",
    time_limit="3 hours",  # maximum lifetime of the service
)
Serving The Image Generator Model
Every function service in Covalent Cloud contains one initializer function and zero or more API endpoints.
We start by defining the initializer. This function will prep the service for real-time inference by pre-loading the model into vRAM.
@cc.service(executor=gpu_executor, name="SDXL-Turbo Service")
def text_to_image_service(model="stabilityai/sdxl-turbo"):

    """Creates an SDXL Image Generator service"""

    # Importing here avoids local dependencies.
    from torch import float16
    from diffusers import AutoPipelineForText2Image

    pipeline = AutoPipelineForText2Image.from_pretrained(
        model, torch_dtype=float16, variant="fp16"
    ).to("cuda")

    return {"pipeline": pipeline}
Next, let's add an API endpoint. This endpoint will generate an image from the contents of the text argument. It will then serialize the image and return it as a base64-encoded string.
@text_to_image_service.endpoint(route="/text-to-image")
def generate_image(pipeline, text, num_inference_steps=1):

    """Generate an image from user-specified text."""

    # This is the `pipeline` returned by the initializer
    image = pipeline(prompt=text, num_inference_steps=num_inference_steps, guidance_scale=0.0).images[0]

    # Serialize
    bytes_io = io.BytesIO()
    image.save(bytes_io, format='PNG')
    image_as_str = base64.b64encode(bytes_io.getvalue()).decode('utf-8')

    return image_as_str
Deploy The Service
This code block will deploy the service (asynchronously), wait for it to become active, then print some useful information.
Run the code block to do all of the above. Deployment usually takes 5-15 minutes.
image_generator = cc.deploy(text_to_image_service)()

# Wait for active state and reload the client.
image_generator = cc.get_deployment(image_generator.function_id, wait=True)

# Print information about the deployment.
print(image_generator)
╭──────────────────────── Deployment Information ────────────────────────╮
│  Name          SDXL-Turbo Service                                      │
│  Description   Creates an SDXL Image Generator service                 │
│  Function ID   6650d922f7d37dbf2a468bab                                │
│  Address       https://fn.prod.covalent.xyz/16650d922f7d37dbf2a468bab  │
│  Status        ACTIVE                                                  │
│  Tags                                                                  │
│  Auth Enabled  Yes                                                     │
╰────────────────────────────────────────────────────────────────────────╯
╭────────────────────────────────────────────────────────────╮
│                   POST /text-to-image                      │
│  Streaming    No                                           │
│  Description  Generate an image from user-specified text.  │
╰────────────────────────────────────────────────────────────╯
Authorization token: FG2vkGuGPaDLUId17q9pZaNmJHf2_EZS7BVFL_dN26w0bRBQQGwmTKLAMaZ2W6L-H-Mp9Cx5cUJg49TlhrO6cw
Generating Images
Now that the service is deployed and active, we can start generating images by sending requests to the /text-to-image endpoint. You can image building a front-end that consumes this API to generate images from user-provided text. In fact, this model is fast enough to do that almost real-time (generating a new image every 3 seconds or so).
For the purposes of this tutorial, we'll generate a single image using the code below.
Let's create a brief utility function to help us visualize the images. Make sure you have pillow installed for this to work.
pip install -U pillow
from PIL import Image

def deserialize_image(ser_img):
    image_arr = io.BytesIO(base64.b64decode(ser_img))
    return Image.open(image_arr)
Run this cell in a Jupyter Notebook and the image will be displayed inline.
Notice that our Python client automatically includes methods corresponding to each endpoint (with "-" replaced by "_").
text = "A cute puppy dressed like a sailor."

# Use the endpoint to generate an image.
serialized_image = image_generator.text_to_image(text=text)
deserialize_image(serialized_image)

Danger Zone!
Run cell below to tear down the deployment and release all its resources. (You can also do this from the Covalent Cloud UI.)
# import covalent_cloud as cc
# image_generator = cc.get_deployment("6650d922f7d37dbf2a468bab")
image_generator.teardown()
'Teardown initiated asynchronously.'